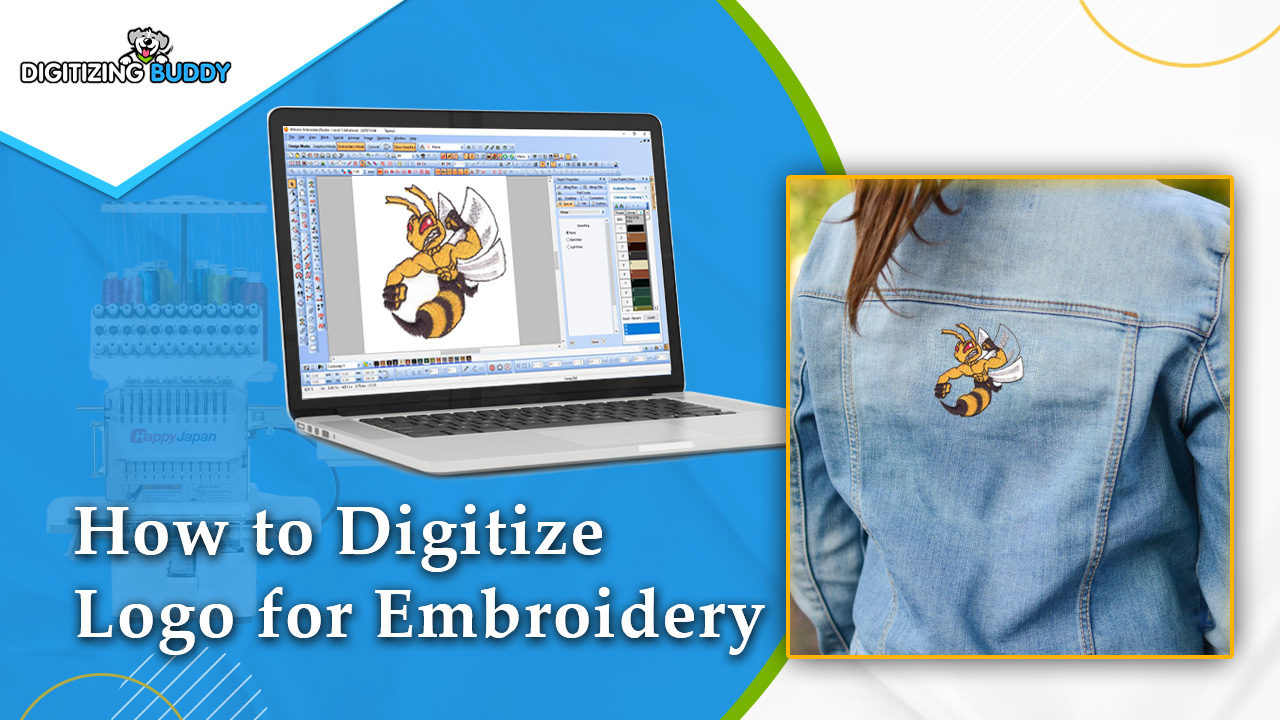
Your logo is the crown jewel of your brand identity—meticulously crafted in crisp vector perfection. But when it comes to embroidery, that pristine digital file faces a whole new set of rules. Suddenly, those razor-sharp vectors need to become physical threads interacting with fabric, and the transition isn’t always graceful. This is where the magic of professional logo digitizing steps in, transforming your two-dimensional artwork into stitches that do your brand justice.
The journey from vector to stitches isn’t a simple file conversion—it’s a complete translation between mediums. What works beautifully on screen or paper often needs thoughtful adaptation to shine in thread. Understanding the process to digitize logo for embroidery means the difference between a logo that embroiders “okay” and one that stitches out spectacularly every single time.
Why Vectors Aren’t Enough
You might wonder—if you already have a perfect vector logo (AI or EPS file), why can’t you just feed it straight to your embroidery machine? The answer lies in the fundamental differences between printing and embroidery:
Ink vs. Thread
Printing lays down flat color, while embroidery builds up dimensional stitches that interact with fabric. Those delicate 0.5pt strokes in your vector file? They’d disappear in thread.
Fixed vs. Flexible
Printed logos stay put, but embroidered ones move with the fabric. Without proper stabilization, your perfect circle becomes an oval after the first wash.
Color Blending
Vector art can use unlimited color blends, but embroidery relies on solid threads placed strategically to create color effects.
Scale Limitations
A vector logo scales infinitely in theory, but embroidery has practical size minimums for readability and stitch integrity.
The Digitizer’s Toolkit
Professional logo digitizing involves specialized software and techniques you won’t find in standard design programs:
Stitch Type Selection
Choosing between satin, fill, and running stitches for different logo elements
Underlay Engineering
Creating hidden stitch foundations that prevent distortion and improve coverage
Pull Compensation
Accounting for how much the fabric will stretch during stitching
Density Mapping
Adjusting stitch spacing for different areas of the design
Thread Path Optimization
Sequencing stitches to minimize jumps and trims
These tools allow digitizers to recreate your logo’s essence in thread form.
The Step-by-Step Transformation
Here’s how pros convert your vector logo into embroidery gold:
Logo Analysis
- Identifying which elements will translate well
- Spotting potential problem areas
- Planning the stitch hierarchy
Fabric Assessment
- Determining stitch settings based on material
- Choosing appropriate stabilizers
- Adjusting for stretch or thickness
Stitch Mapping
- Assigning stitch types to each element
- Creating efficient color sequences
- Planning underlay strategies
Precision Adjustments
- Tweaking stitch angles for best appearance
- Compensating for thread thickness
- Balancing densities across the design
Testing & Refinement
- Stitching samples on actual fabric
- Making micro-adjustments
- Finalizing the production-ready file
Common Logo Digitizing Challenges
Even simple logos present unique hurdles in embroidery:
Tiny Text
- Requires specialized stitch techniques
- Needs size adjustments for readability
- Demands careful font selection
Fine Lines
- Must be thickened appropriately
- Need proper underlay support
- Benefit from stitch direction planning
Gradient Effects
- Recreated with strategic color placement
- Use directional stitching for blend illusions
- Sometimes require thread count limitations
Complex Shapes
- Need to be simplified strategically
- Require careful stitch path planning
- Benefit from layered stitching approaches
Size Matters: Logo Sizing for Embroidery
One of the biggest mistakes is assuming your logo will work at any size. Key considerations:
Absolute Minimums
- 1.25″ for simple logos
- 1.5″ for text elements
- 2″+ for detailed designs
Fabric Factors
- More stretch = larger minimum size
- Thicker materials can handle finer detail
- Looser weaves need simpler designs
Placement Impact
- Chest logos can be smaller than back designs
- Cap fronts need special curvature adjustments
- Sleeve patches have unique requirements
Color Translation Tricks
Converting vector colors to thread involves more than just matching Pantones:
Thread Limitations
- No true gradients
- Metallic/sheen effects behave differently
- Color appearance changes with stitch direction
Contrast Considerations
- Adjacent colors need sufficient value difference
- Sheens affect perceived contrast
- Background fabric color impacts visibility
Reduction Strategies
- Combining similar colors
- Using stitch direction for color effect
- Strategic simplification where needed
The Quality Difference
Professional digitizing shows in subtle but important ways:
Stitch Economy
Fewer thread breaks and trims mean faster production
Visual Consistency
Logos look identical across different garments
Durability
Proper digitizing prevents premature wear
Brand Integrity
Every detail represents your business accurately
When to Redigitize
Consider updating your embroidery files when:
- You rebrand or update your logo
- Adding new apparel types
- Switching primary fabrics
- Noticing quality decline
- Expanding production scale
Choosing Your Digitizing Partner
Not all services understand branding needs. Look for providers who:
- Request your brand style guide
- Ask detailed application questions
- Provide stitch reports
- Offer revision rounds
- Understand marketing considerations
The ROI of Professional Digitizing
While professional services cost more upfront, they save money through:
- Reduced production errors
- Faster stitching times
- Longer-lasting apparel
- Stronger brand perception
The Future of Logo Digitizing
Exciting developments are enhancing the process:
- AI-assisted stitch path optimization
- 3D simulation for fabric interaction
- Advanced thread technologies
- Cloud-based collaboration tools
Yet human creativity remains essential for brand-perfect results.
Your Logo in Stitches
Your vector logo represents significant branding investment. Professional digitizing protects that investment by ensuring it translates beautifully to embroidery. In a world where branded apparel serves as mobile advertising, that crisp, clean embroidered logo makes every wearer a brand ambassador.
Remember—great embroidery starts with great digitizing. By understanding and investing in this crucial translation process, you ensure your logo always represents your business at its best, in thread as in pixels.


